 |
Registering a Dedicated Scanner
You can register users and scanners to Epson Connect based on the registered data provided by the scanner.
Only scanners that have been set up can be registered to Epson Connect. Follow the documentation that came with the product to complete the software installation and network configuration.
 Note:
You cannot use the services under a Wi-Fi Direct or Ad Hoc connection.
|
 |
Turn on the scanner.
|
 |
Tap Cloud > Epson Connect Settings on the scanner's home screen.
|
 |
The Epson Connect registration page URL, QR code, and authentication code are displayed on the screen.
An authorization code is required to open the registration page from the URL. Make a note of the authentication code.
|
 |
Access the registration page using a computer, smartphone, or tablet device.
|
 |
Enter the authentication code and click (tap) Send.
If you scanned the QR code to access the registration page, the authorization code has already been entered.
|
 |
When the scanner registration completion message is displayed, click (tap) Next.
|
 |
Review the Terms of Use and Privacy Statements and select the check boxes.
|
 |
Click (tap) Next.
|
 |
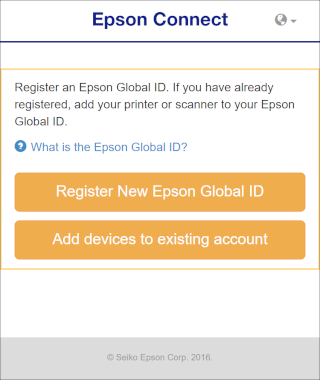
When this screen is displayed, click (tap) the button according to your needs.
|
Register a new Epson Global ID
 |
Click (tap) Register New Epson Global ID.
|
 |
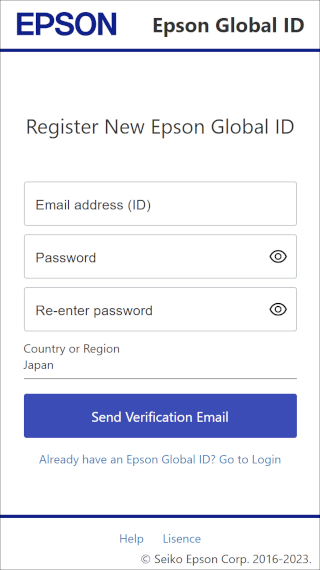
On the "Register New Epson Global ID" screen, enter an email address and password, select your country or region, and then click (tap) Send Verification Email.
|
An email is sent to the address you registered with the code required for registration.
 |
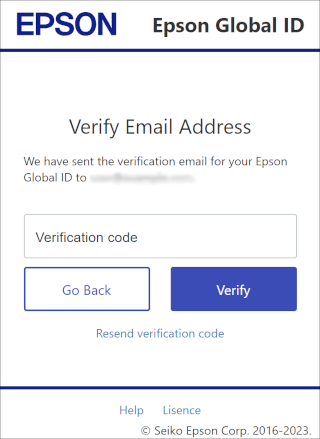
On the "Verify Email Address" screen, enter the verification code you received, and then click (tap) Verify.
|
When the scanner is correctly registered to the entered user account, a notification email is sent to the registered email address.
Epson Connect services are now ready for use.
Epson Global ID already registered
 |
Click (tap) Add devices to existing account.
|
 |
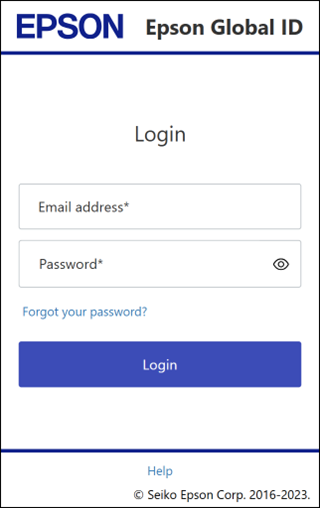
Enter the registered email address and password in Epson Global ID, and then click (tap) Login.
|
 |
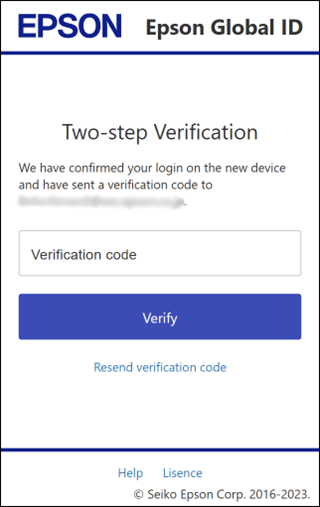
If the Two-step Verification screen is displayed, enter the verification code received at the registered email address and click (tap) Verify.
|
When the scanner is correctly registered to the entered user account, a notification email is sent to the registered email address.
Epson Connect services are now ready for use.
 |
|
|
|
 Note:
Note:


